Monday, February 20, 2012

So Ugly (Part Two)


After I finished all the painting on Chantel's chair, I got started on the sewing! I was super excited to get rid of that ugly material and replace it with something MUCH better! 


My next step was to find a good fabric, I went to three stores but I finally found something that I could use, it was on sale, worked for either gender and was cute, It fit all my criteria!  


I was using the existing fabric as a pattern so I started carefully ripping out all the seams, after about an hour I stopped being quite so careful and just had at it... but it still turned out fine!


The naked foam, just waiting to become beautiful!


I laid out all my fabric (admired it) and then got ready to cut it up.


I carefully pinned all the old pieces of fabric on, making sure that everything would fit and that the stripes were lined up, then I cut them out!


All my nicely cut pieces, folded and stacked just waiting to be sewn!


The sewing was fairly easy it didn't take very long at all and was very straightforward, I love to sew so I could have done with a little more of it!


The only 'tricky' part was adding the ties for the cushions. It wasn't hard, it just took some thought. I took the shoelace (what I used for the tie) and stitched it onto the chair fabric (only one piece of it) and then  pinned the other piece of the chair fabric together to sew them together like normal. Before I started sewing I flipped the shoelaces down in-between the two pieces of material so that they would be on the outside when I flipped the cover right-side out... 
  

So it ended up looking like this, sorry that might have been confusing I know all of my 'technical' terms  probably made those steps hard to follow... 
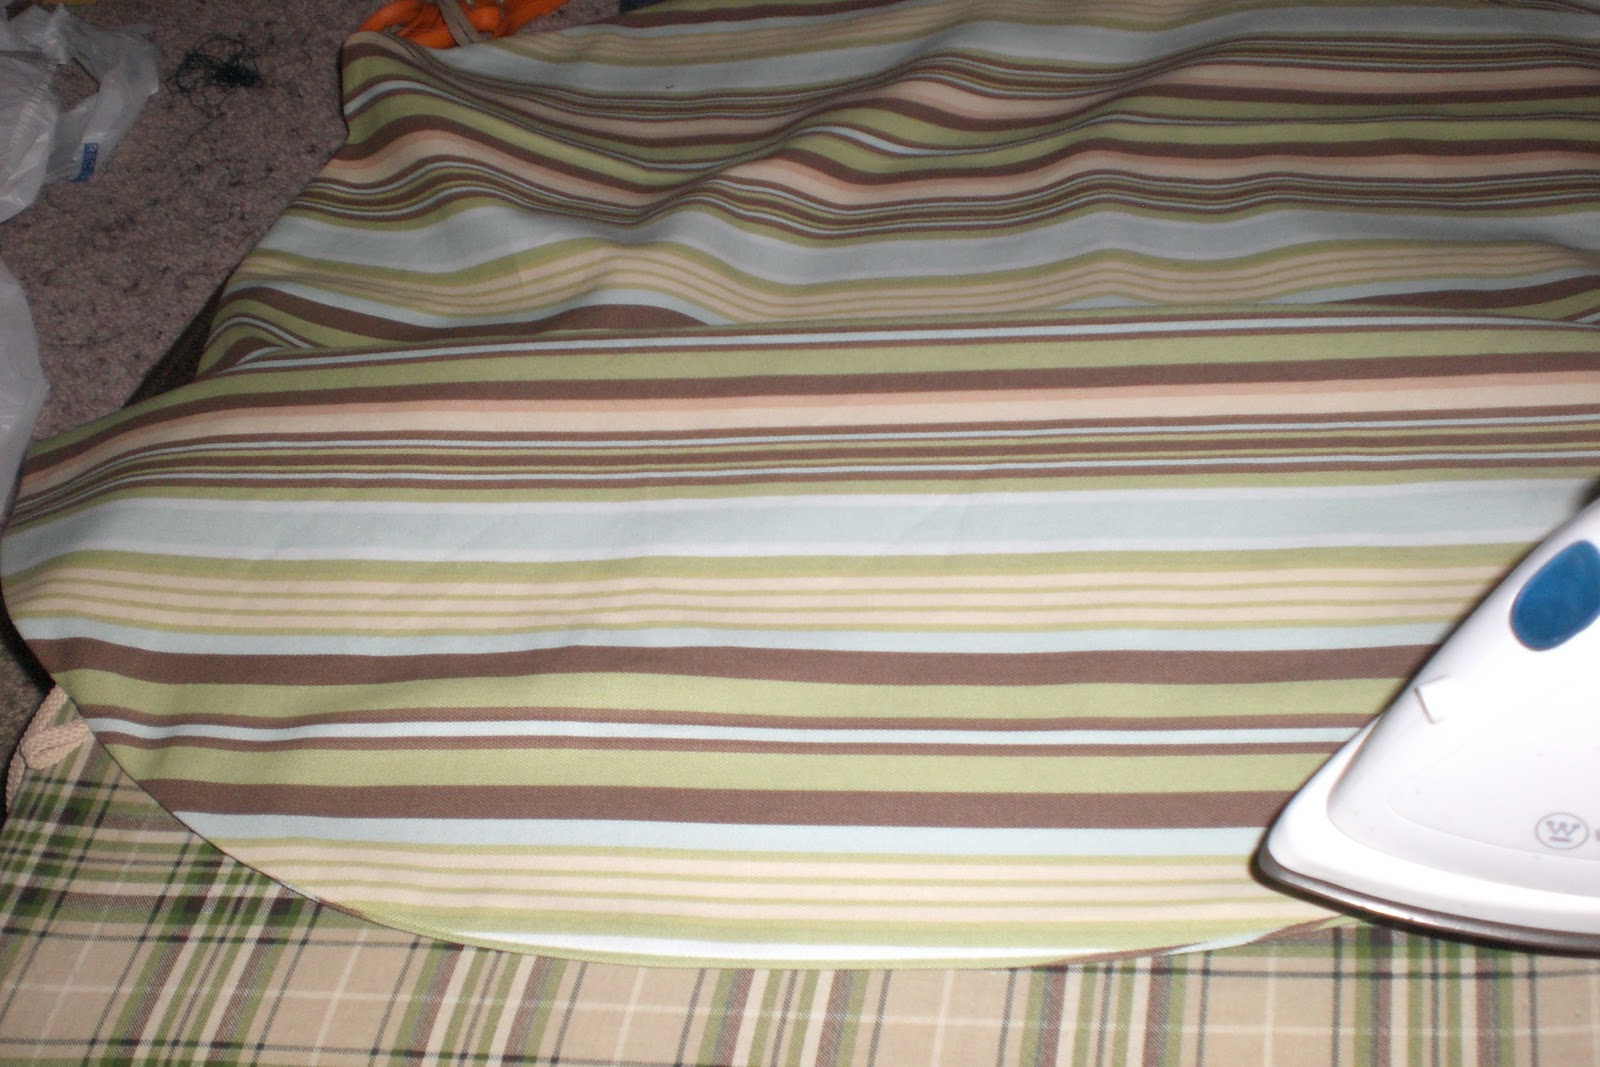

I then pressed all my seams (the key to making something look like it wasn't homemade!)


Now the new covers were ready to be put on, I couldn't wait to see what they looked like! Okay so you are probably wondering what the finished product looks like (and thinking 'man I already read two of your blog posts, just show me already!!') but there really are too many pictures and steps to just make this into one or even two posts, but you will see it all completed soon! 

Tuesday, February 14, 2012

So Ugly (Part One)


My sister Chantel is pregnant and the family could not be more excited! I am dying to know the gender so I can start shopping for him or her but for now we wait... well sort of. Chantel and her husband Mike have wisely decided that they want all the 'big ticket' items to be gender neutral, so they can use them for any future babies, they have also been trying to get the best deal they can on everything... Hence the hideousness of this chair-  


They found it on craigslist... and were perfectly happy with it (I think the excitement of the new baby was blinding them...) Let me tell you, this picture makes the chair look a lot better then it really was in person. So me, being their baby's future-favorite-aunt, decided to help :)


Chantel was super excited at the prospect of a new chair and I got to work. I started with pulling out all the staples on the foot rest (so I could start the reupholstering) there were 150 little staples and my fingers were in pretty bad shape by the time I detached the cardboard off of the wood. I was very excited to be done with that part...   


But it was not meant to be, as the cardboard came off I realized that I was just getting started. The fabric was also attached to the wood on the other side of the cardboard too but instead of using the same type of staples, the fabric was attached with the heavy duty kind. There were another 70 staples to pry off. by the time I was done, I wasn't sure my fingers would ever forgive me. I thought about just cutting all the fabric off but I was planning on using it as my pattern and I needed it intact.


I also started sanding the crap out if the chair to get it ready to paint. I can't describe how much dust there was! The sanding took me about 12 hours in total, I probably could have gotten away with not being quite as thorough but I really wanted this chair to be able to withstand anything (especially being around little children and their grimy little hands!)


Next I cleaned the wood so that all the dust was cleared off of it and then I primed it. I used spray paint because of all the curves, I thought it would give it a better finish and be easier. Two cans of primer later and I was ready to paint the chair white.
 
(you can see my husband's sexy legs in the background of this picture)

I would wipe the chair clean in between coats to make sure there were no specks in the paint. The white took a million (slight exaggeration) coats before it was done, it would have gone faster if I could have found white primer but I could only find a light gray (it worked fine but I needed more white coats overall). I also used a light abrasive to sand down any light bumps right before my last coat of white. I then finished painting it with a clear matte topcoat, it really helped with the over all 'finished' look' and gave it a great feel, once that was dry I buffed the whole thing with a paper towel. That great tip was from my husband, the paper towel was just abrasive enough to get the chair silky smooth but didn't hurt the paint finish.     

(The graveyard of spray paint.)

All the sanding and painting was about 40 hours worth of work but I was meticulous, you could probably cut that time down a bit if you used white primer and if you had a clean work environment so that you didn't have to clean everything so thoroughly before you could start painting again!
It was a ton of work but I am really happy with how it turned  out, want to see how it turned out? Well too bad! You will have to wait for part 2 (or maybe even part 3... who knows!)

Sunday, September 18, 2011

No I'm Not, I Know You Were Wondering

During certain times in my life when I was younger, I didn't get new clothes very often and when we would go clothes shopping (my Mom, sisters and I) there was usually a very strict budget. During these trips I would often get the bare minimum, so that my sisters would be able to get things that they liked. Now I'm not complaining but rather trying to give you an insight, because I didn't have many things, I would NEVER  throw away clothes. It might fit badly, have a weird stain or some other such thing, but I would fold my old things nicely and put it under my bed, just in case. Many times I would find a use for it later, maybe use it as an undershirt, add something to the bottom of a old pair of jeans to make them longer, or 'take in' a shirt to make it fit, but I couldn't get rid of them, I just didn't know when I would need them. If an article of clothing was in really bad shape, I would throw it out but it was hard thing to do : ) . This habit has stayed with me, not nearly as much but I do currently have a plastic container under my bed with clothes I can't seem to part with... So recently I decided to do something about it, and started looking up things to do with all my old clothes and that is when I found the wonderful world of repurposing blogs!

There are a lot of really good ideas out there, I was drawn to the ones that gave me ideas for my smaller items (like a small shirt) because I have a lot of them that I need to use. But because there is not a lot of material in a shirt like that, it had to be something small.

 And so I give you- 


 Baby pants!


I forgot to take pictures of my shirts beforehand : ( but they were just normal smallish t-shirts. Each pair took me less then an hour and they were super easy, not to mention cheep! I didn't mind cutting up my shirts because they have turned into something more 'useful' (a pair of working pants vs. a shirt I'm not going to wear because of a busted up collar or some other such thing) I didn't make a tutorial but I got the idea for them here- 

http://www.rookiemoms.com/make-some-easy-kids-pants/ the youtube video is helpful
http://handyprojects.blogspot.com/2005/04/how-to-make-easy-kids-pants.html And this link helps with some of the details (like elastic length)

And in case you were wondering look at the title of this post     

Friday, June 24, 2011

One Year Older


Dave turns 26 today!

I am so lucky to have him as my husband and best friend. We have been married for 4 years and I have been so blessed to call him my husband, he brings so much joy and happiness to my life, I can't imagine (nor would I want to) what my life would be like without him! He is funny, goofy, thoughtful and sweet, he is so smart, humble, and just amazing. He makes my life so much better, I know this is mushy so I won't keep going but I wanted to wish my wonderful husband a
Happy Birthday